How to add new products with WooCommerce on your WordPress site
STEP 1:
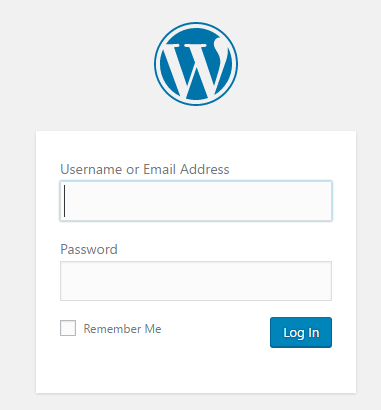
Log in to your WP Admin panel.
yourdomainname/wp-admin
STEP 2:
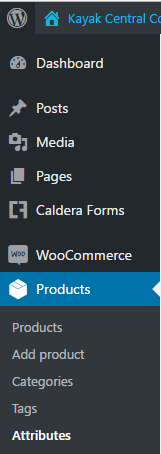
Navigate to "Products">"Add Product".
STEP 3:
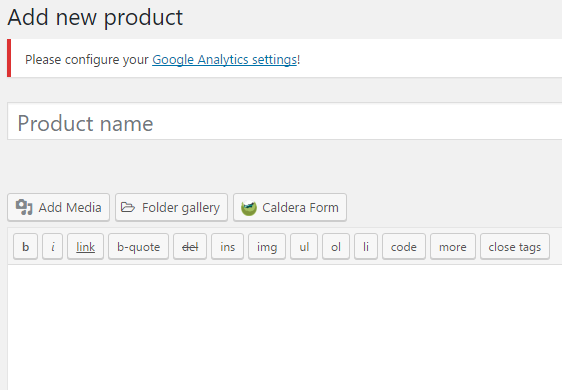
Enter the title and description at the top.
STEP 4:
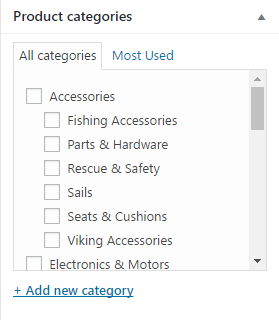
Tick the categories on the right side.
STEP 5:
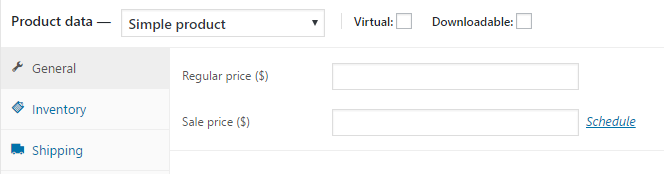
Enter the price.
STEP 6:
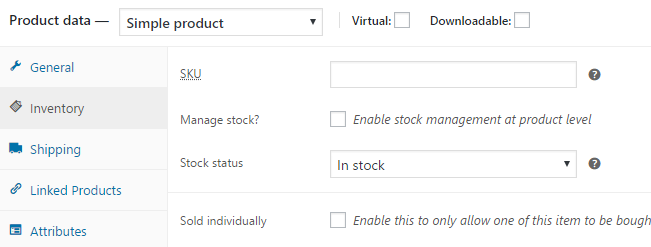
In the "Inventory" tab, define a unique SKU (this will automatically increment on the last one if you don't set it).
STEP 7:
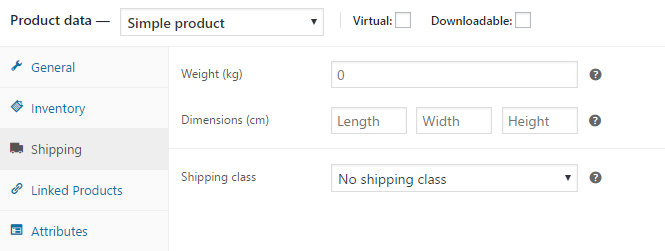
In the "Shipping" tab, set the weight and dimensions.
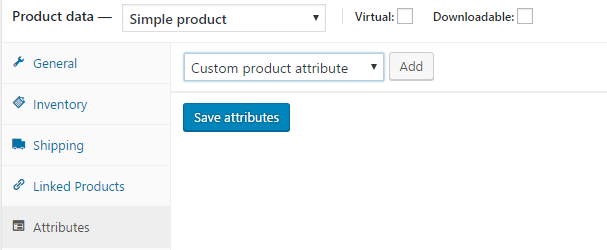
STEP 8:
The attributes tab is where you'll set all your fields.
With the dropdown "Custom product attribute" select each one and then click "Add".
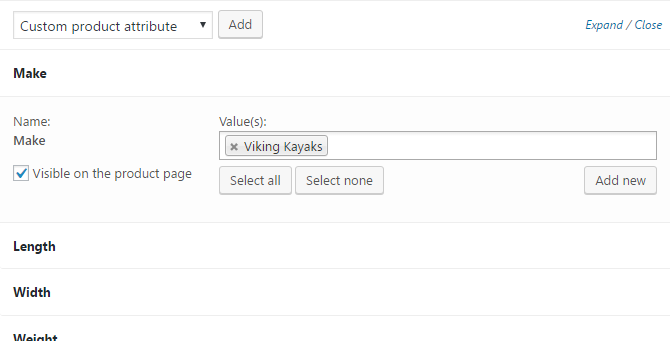
STEP 9:
Loop through each of the attributes and add all the relevant ones for that product (for example, if a certain model of the product is available in several colours, enter each distinct colour).
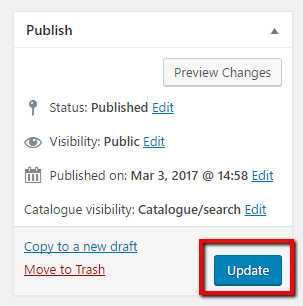
STEP 10:
Finally, save your changes.