How to Change an Audio File using the Audio Module with Divi Page Builder
STEP 1:
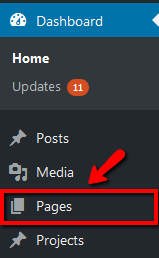
Log in to your WP Admin panel. Click on “Pages” in the menu.
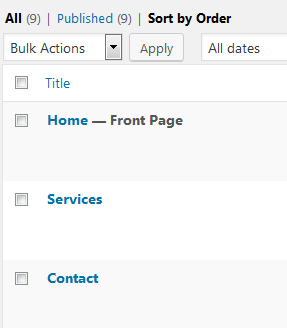
The site’s pages will display in a list.
STEP 2:
Click on the title of the page you wish to edit.
Alternatively, you may notice that when you hover over the page title, a menu appears. Clicking on the “Edit” link will give the same result.

STEP 3:
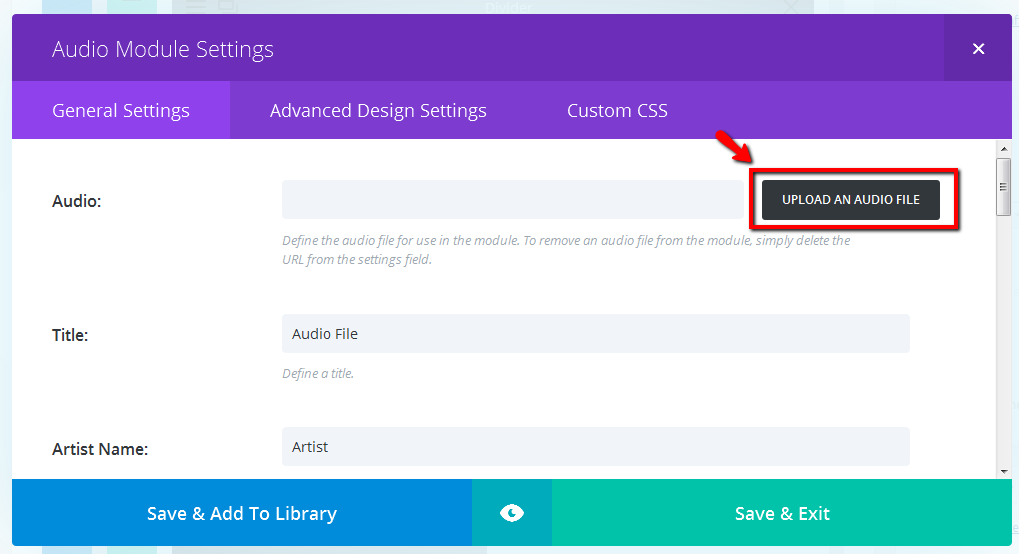
Scroll to the audio module that you wish to edit. Click on the icon with 3 lines at the far left of the module to edit the module settings.
A module can be given a custom label, so that it can display as something other than “Audio” on your page builder. In these instructions, the audio module we are editing has already been given the label, “Audio File”.

STEP 6:
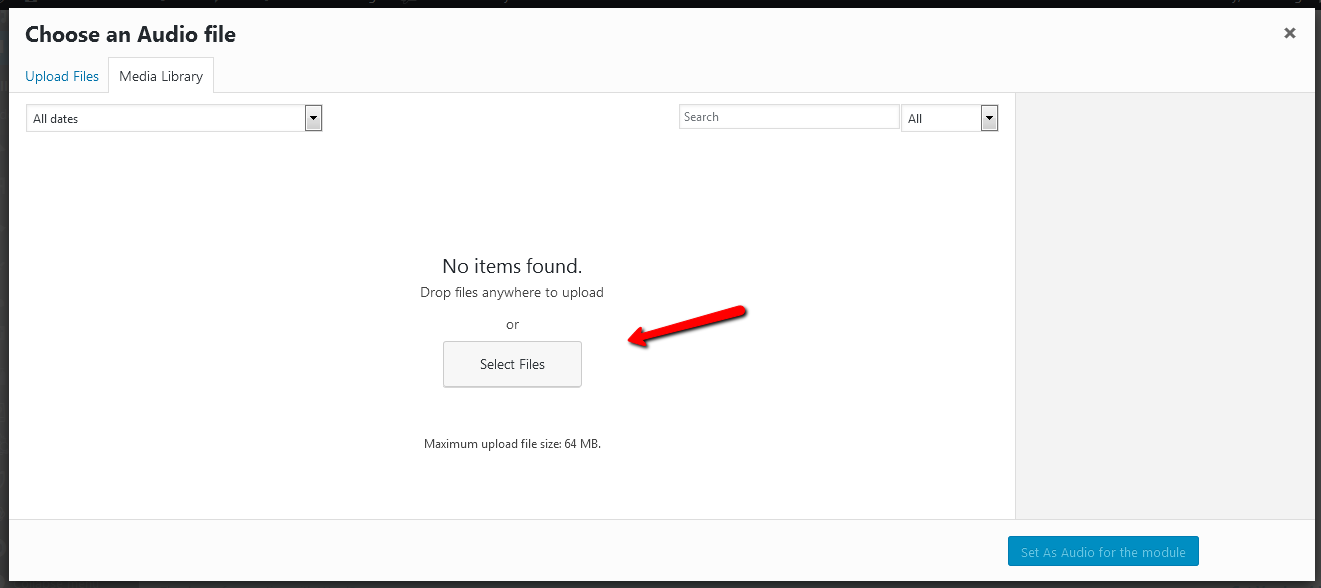
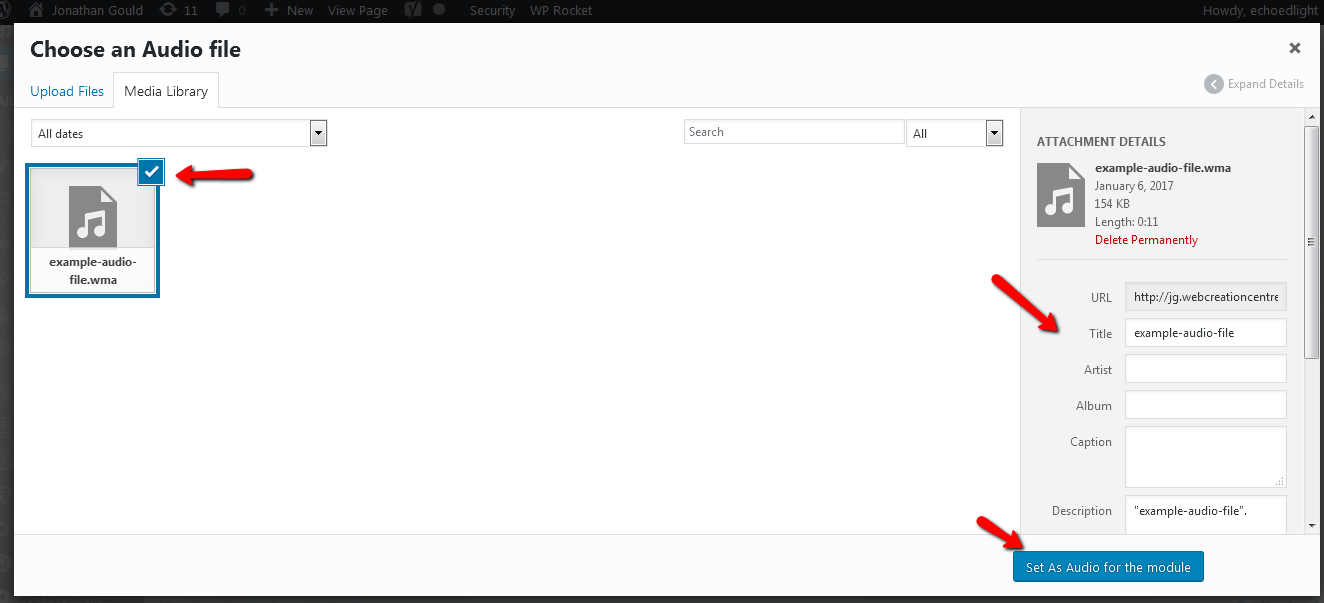
Once your audio file is uploaded, you can select it from the media library. You can add details for your library, then click on “Set as Audio for the Module”.
STEP 7:
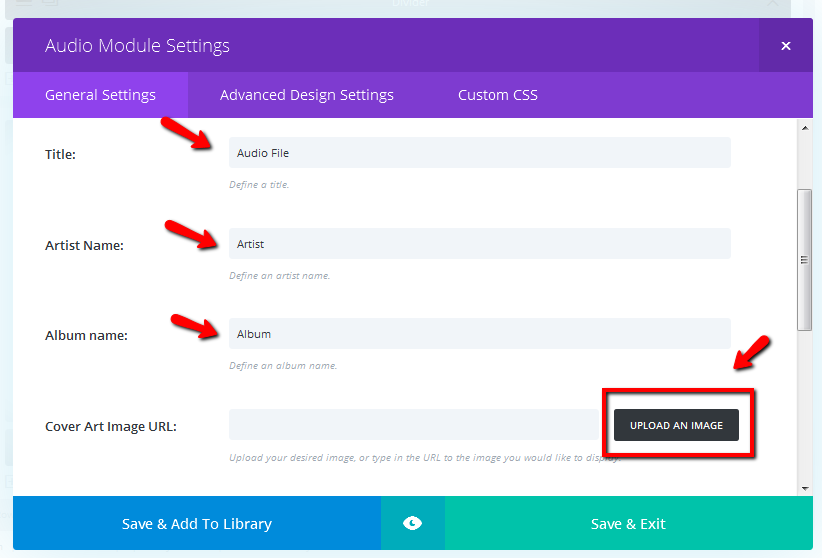
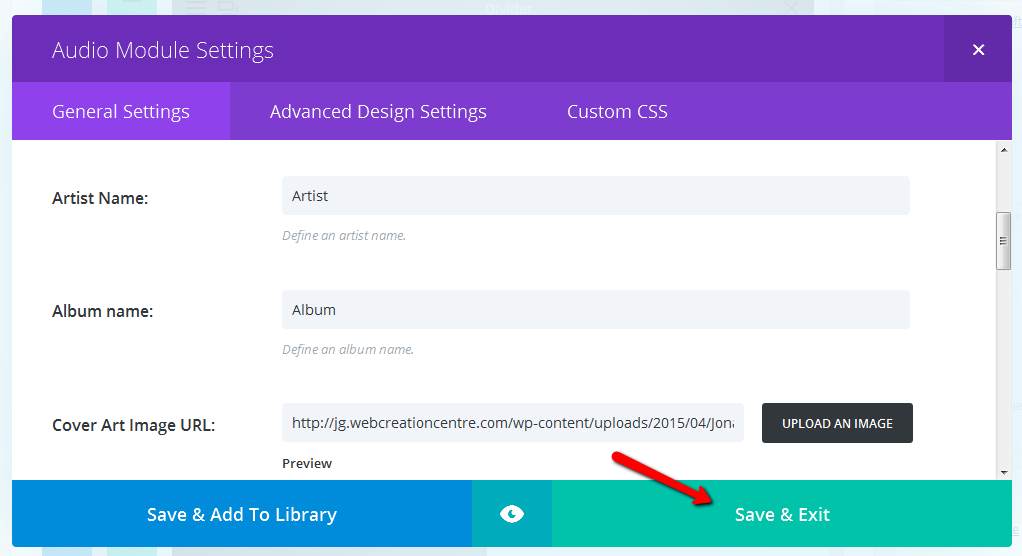
Now add/change the audio details to display, and if you want a cover image or to change the existing one, click on “UPLOAD AN IMAGE”.
STEP 9:
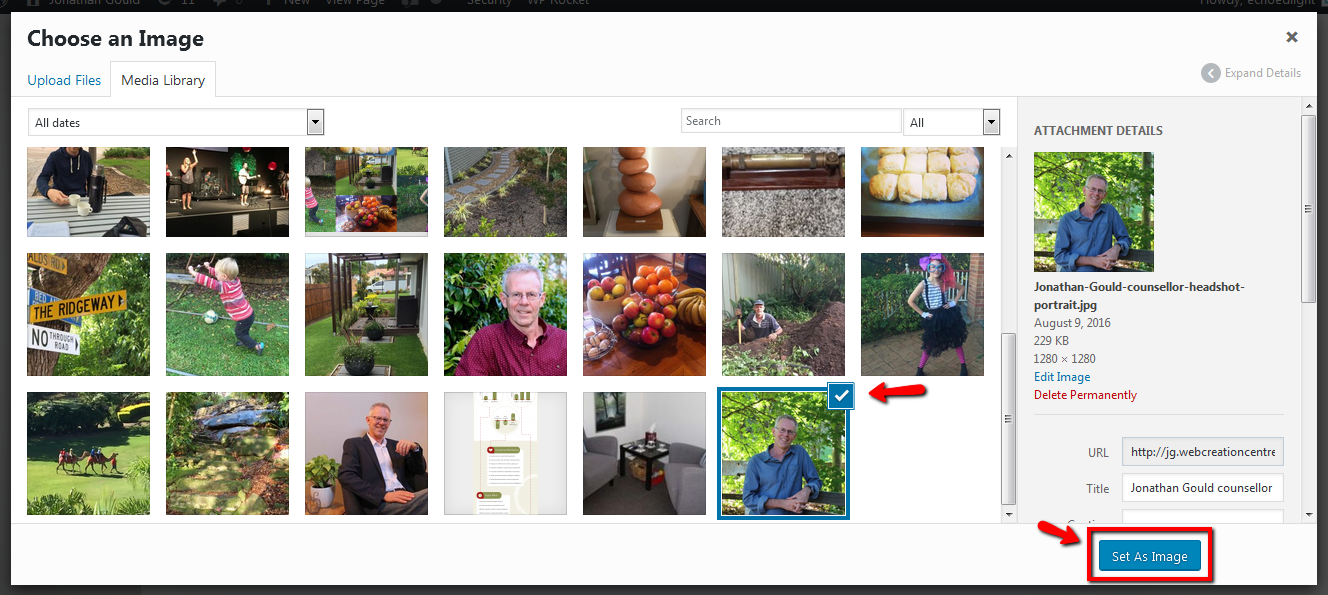
Select your cover image from the media library (or upload a new one to select), then click on “Set As Image”.
STEP 11:
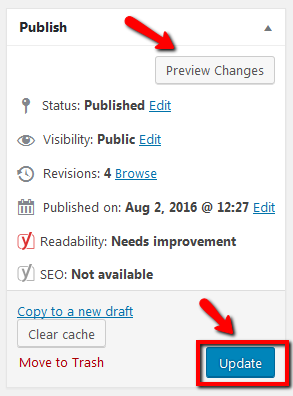
Finally, as with all WordPress content changes, click on “Update” to publish your changes.
