How to Add or Edit Promotions (or Move or Delete)
STEP 1:
Log in to your WP Admin panel.
(Use primary domain for multisite admin.)
yourprimarydomainname/admin

STEP 2:
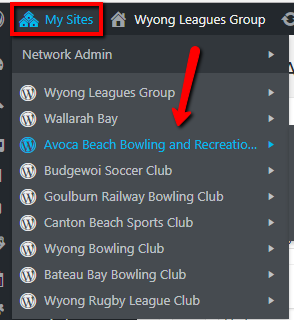
Navigate to Promotions>Venue from the admin menu.
(Select the venue for which you wish to make changes to the dining specials.)

STEP 3:
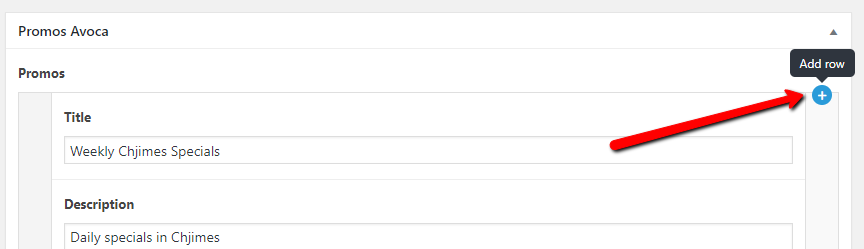
Your will now see the list of promotions for the selected venue.
Add a promotion by clicking on the “Add Event” button at the bottom of the table.
STEP 4:
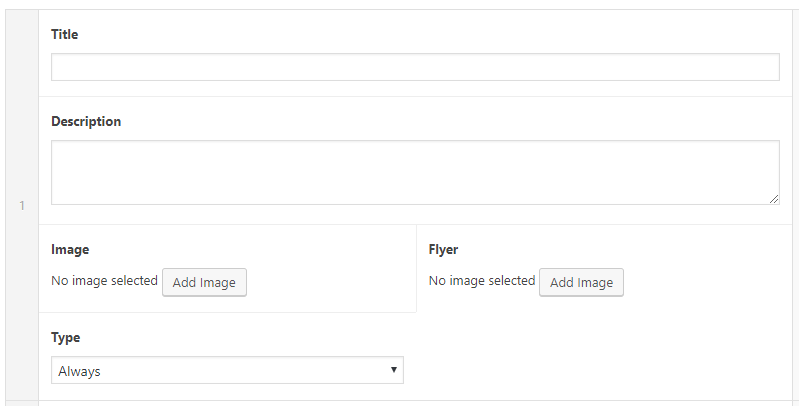
Add title:
- Enter a title for the promotion.
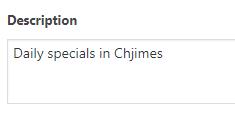
- Enter a description for the promotion.
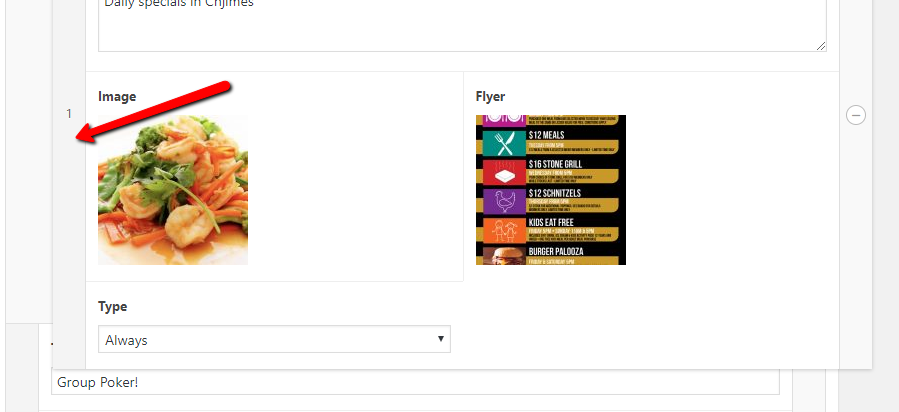
- Upload and select an image for the promotion.
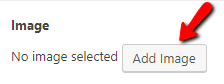
(The uploaded image will automatically be selected. If you have uploaded a few images at a time, select the chosen image.)

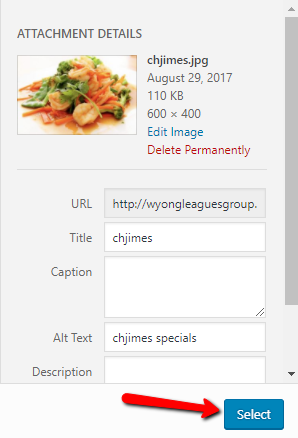
You can upload the relevant image files by clicking on “Upload Files”, then dragging and dropping the files, or use the button to select from your folders.

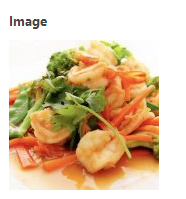
- Click “Select” to insert image.
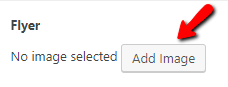
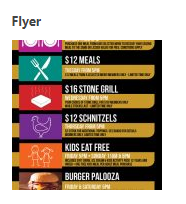
- Upload and select an flyer for the promotion, repeating the steps above for inserting an image.
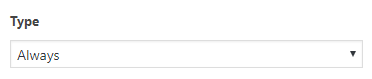
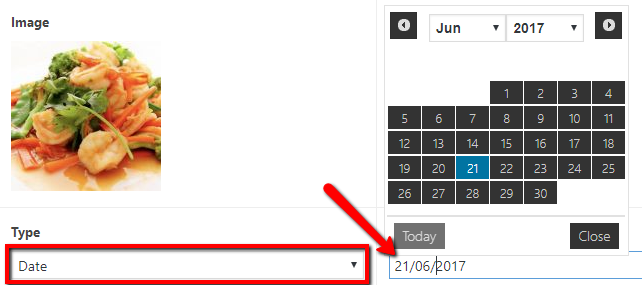
- From the drop-down menu, select the occurrence type for the promotion: always, date (for one-off date) or day (for an event recurring on particular day/s of the week).
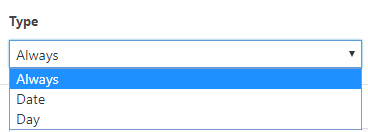
Select the date using the date picker.

Select the day/s using the drop-down menu.


STEP 5:
Click on “Update” in the “Publish” box to save your changes.
You will also need to clear the cache after all changes have been saved.

Moving promotions to change order:
You can rearrange the order of the promotions by clicking on the row’s number (left) and dragging to the new location.
You will also need to clear the cache after all changes have been saved.
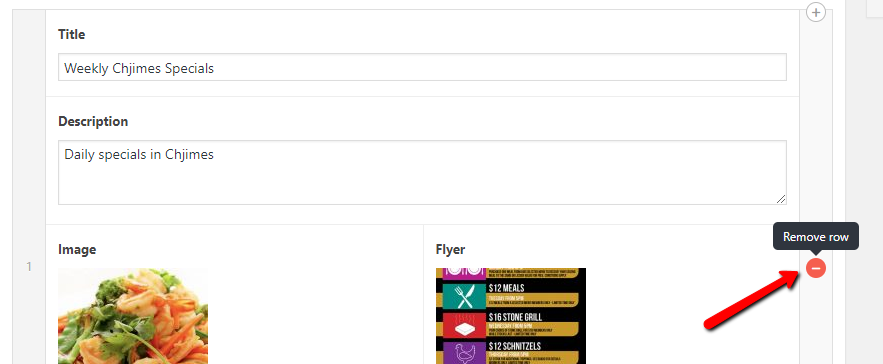
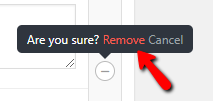
Deleting promotions:
You can delete a promotion by clicking on the “-” (minus) icon at the right hand side of the row.
You will also need to clear the cache after all changes have been saved.
Clear Cache:
To clear the cache (so changes are saved to override browser histories), hover over “WP Rocket” in the editing bar at the top of the page, then click on “Clear cache”.
To do so, hover over “My Sites” in the editing bar at the top of the page, and click on the relevant site for which you have made edits.
Log in.