How to add new products with WooCommerce on your WordPress site
STEP 1:
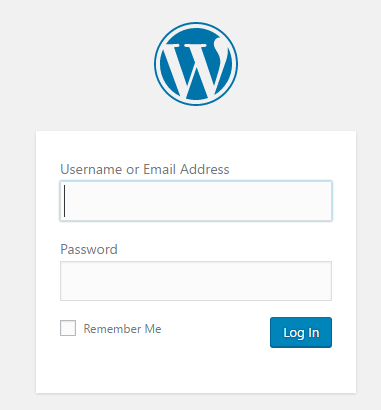
Log in to your WP Admin panel.
yourdomainname/wp-admin
STEP 2:
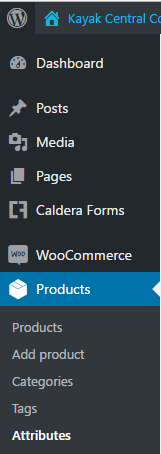
Navigate to “Products”>”Add Product”.
STEP 3:
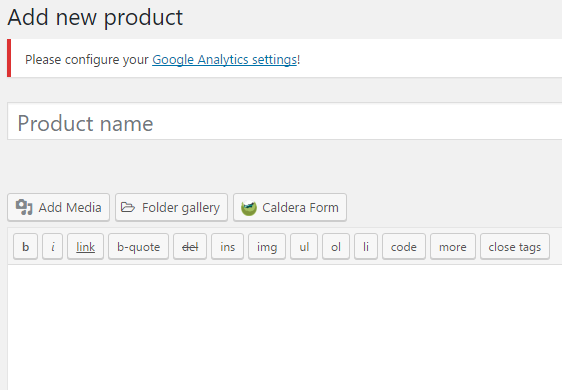
Enter the title and the long description at the top.
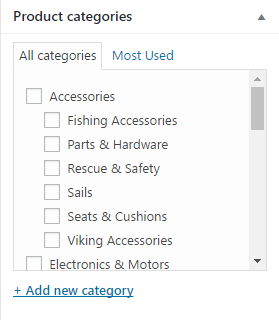
STEP 4:
Tick the categories on the right side.
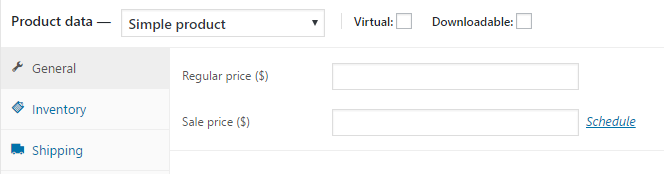
STEP 5:
Enter the price.
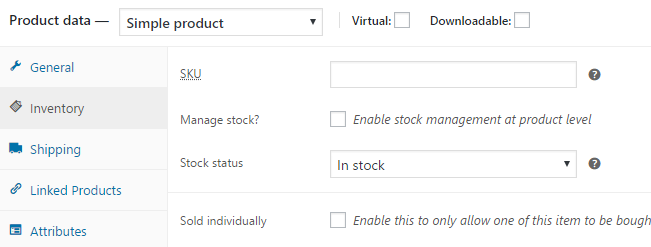
STEP 6:
In the “Inventory” tab, define a unique SKU (this will automatically increment on the last one if you don’t set it).
Tick enable stock management and set stock number.

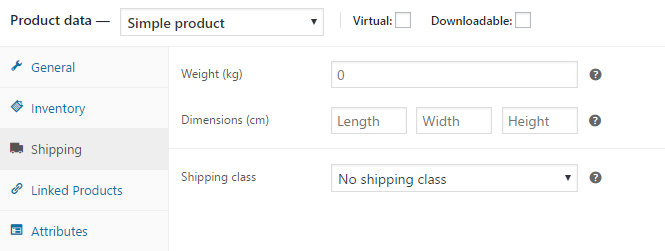
STEP 7:
In the “Shipping” tab, set the weight and dimensions.
STEP 8:
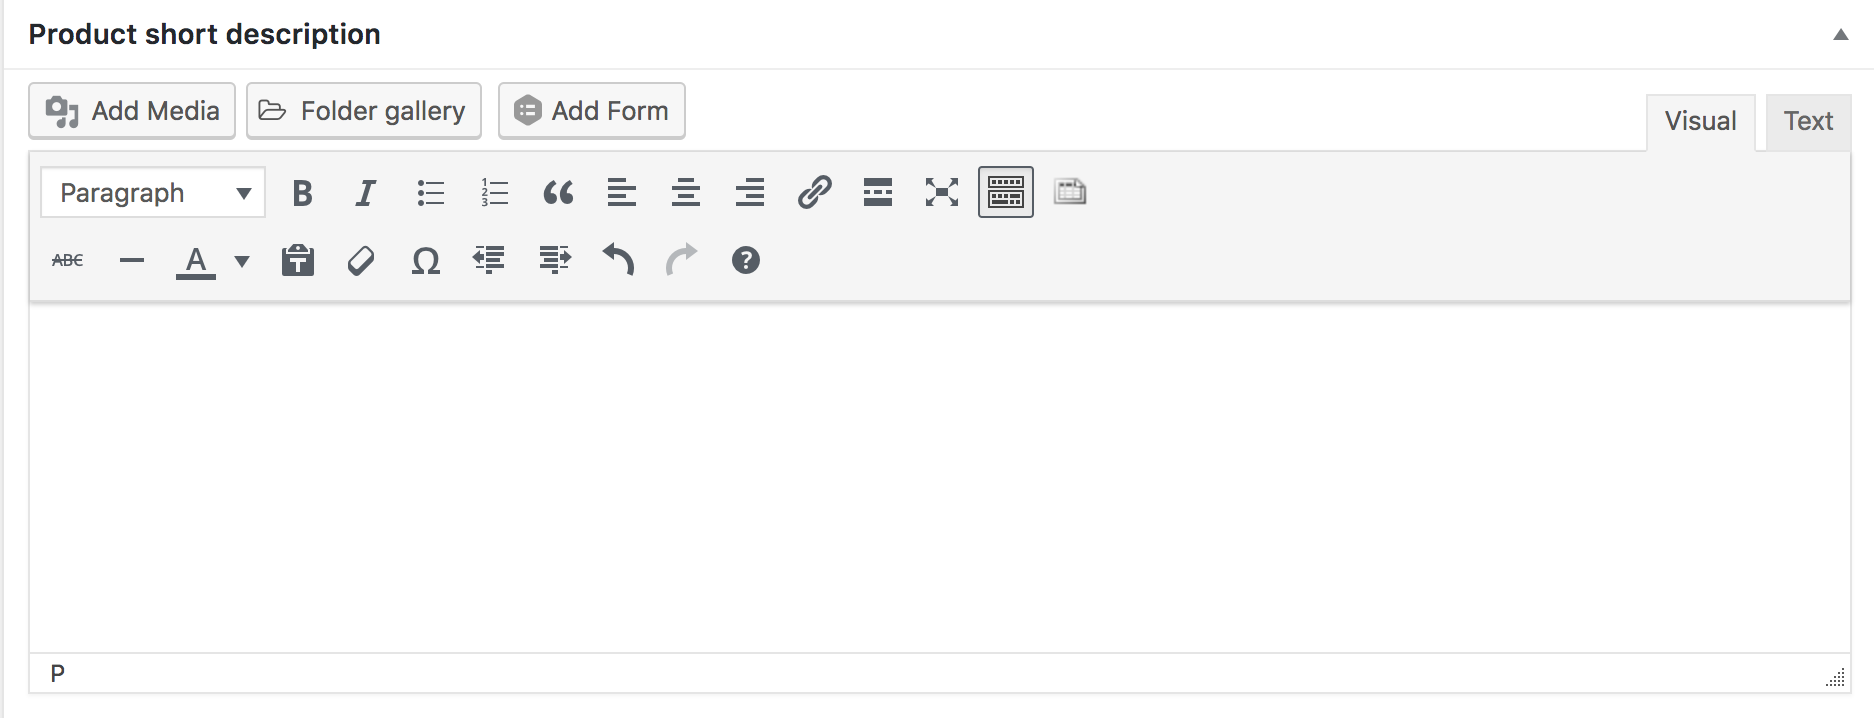
Add short description. This will display at the top of the product page below the price.
STEP 9:
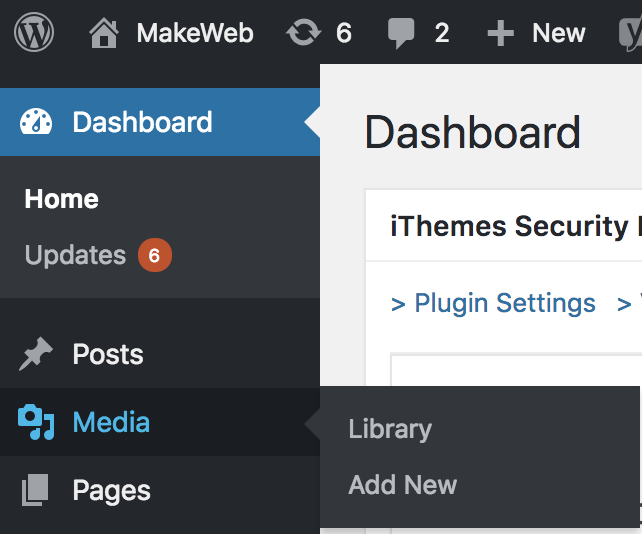
Add Product image and gallery. You can bulk upload photos to the media library before adding products by going to Media in the left hand menu.
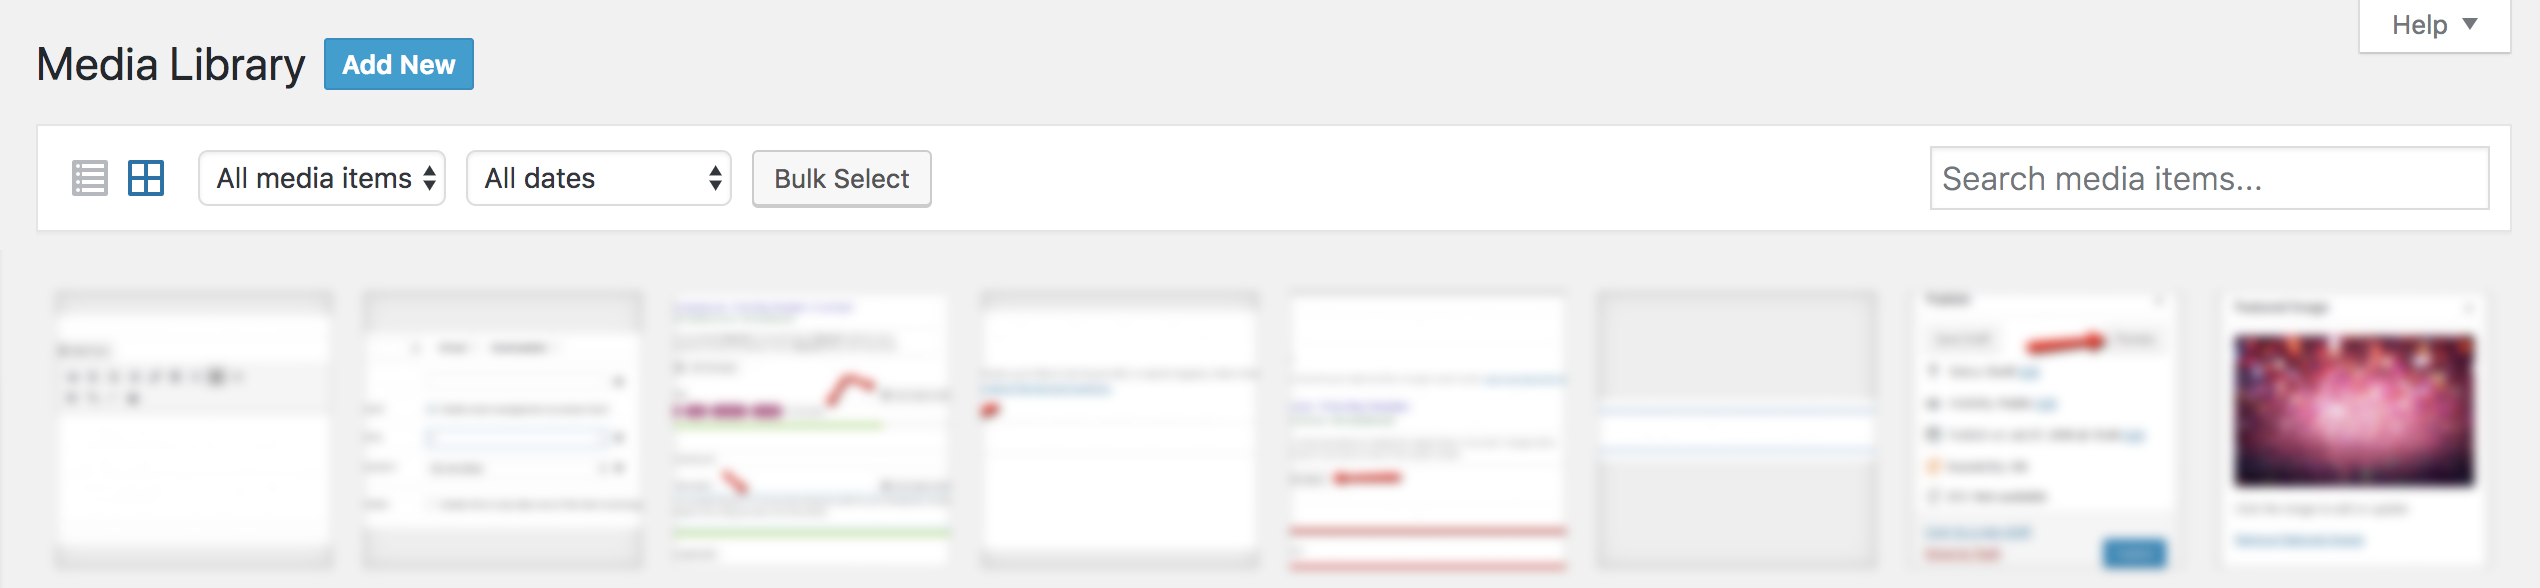
From here you can drag and drop multiple images at once onto the page (release images when the blue ‘Drop files here’ screen appears.) Alternatively you can upload images through your computer files using the ‘Add New’ button at the top of the Media Library Page. You can also add product images in the same way directly from the product page.
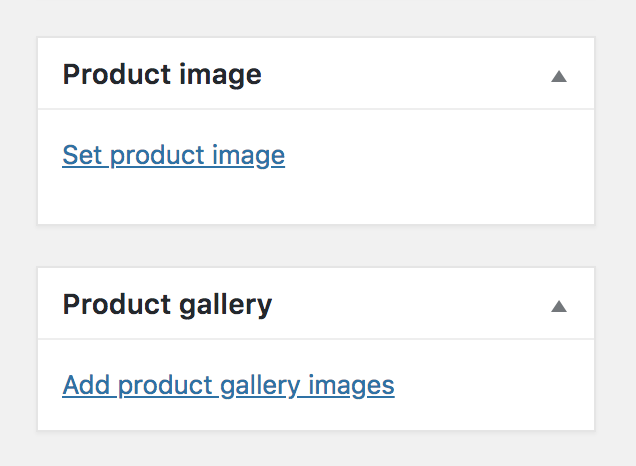
Set product image, then select the images you would like added to the product gallery.
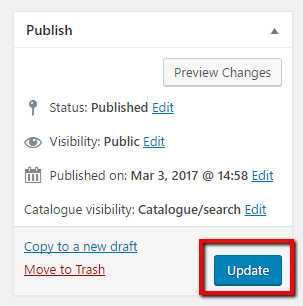
STEP 10:
Finally, save your changes.