How to Edit the Content in your Divi Accordion Module
STEP 1:
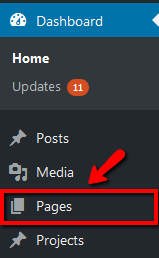
Log in to your WP Admin panel. Click on “Pages” in the menu.
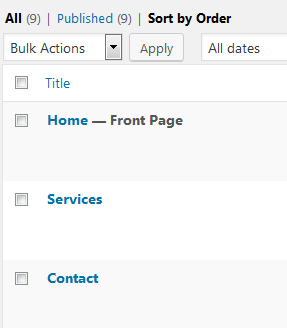
The site’s pages will display in a list.
STEP 2:
Click on the title of the page you wish to edit.
Alternatively, you may notice that when you hover over the page title, a menu appears. Clicking on the “Edit” link will give the same result.

STEP 3:
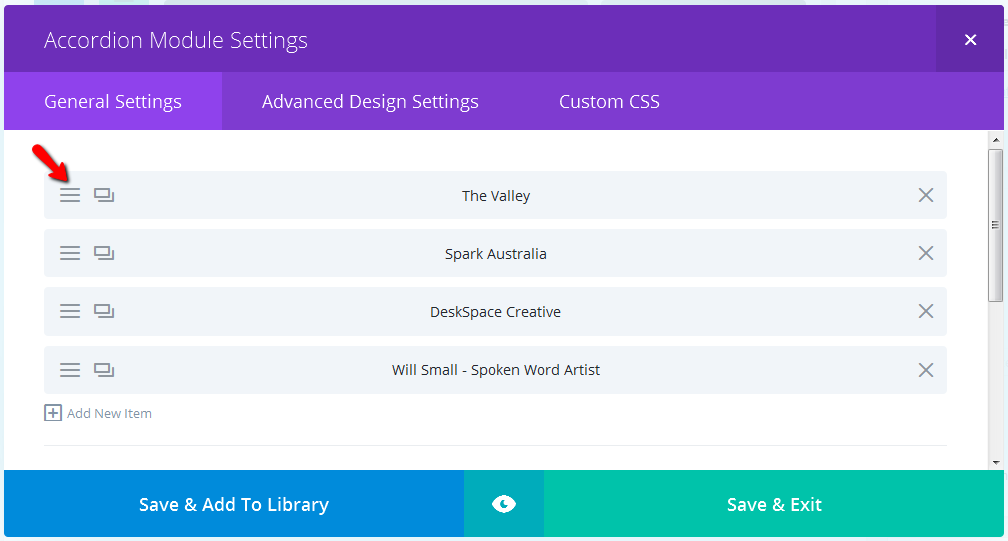
Scroll to the “Accordion” module that you wish to edit. Click on the icon with 3 lines at the far left of the module to edit the module settings.

STEP 4:
Now click on the “Settings” icon (3 lines, again, on the left) for the part of the accordion that you wish to edit.
STEP 5:
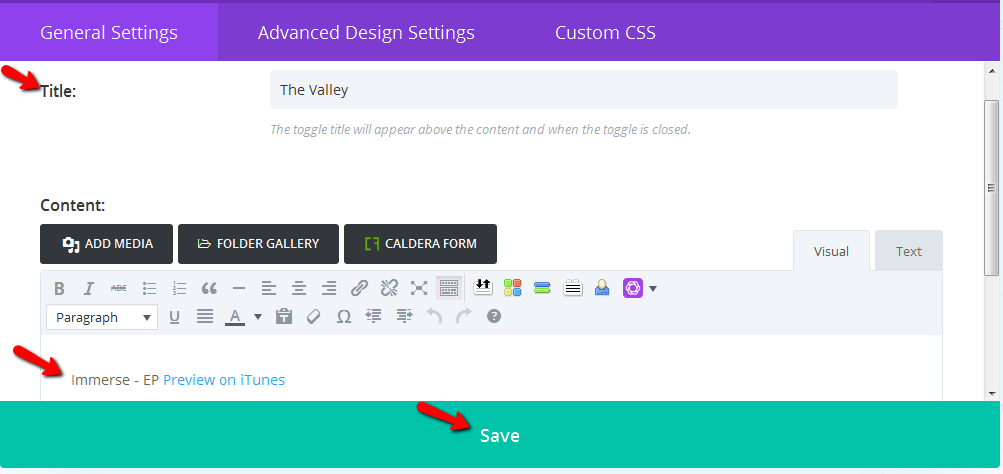
Now add/change the accordion title and content to what you want it to be.
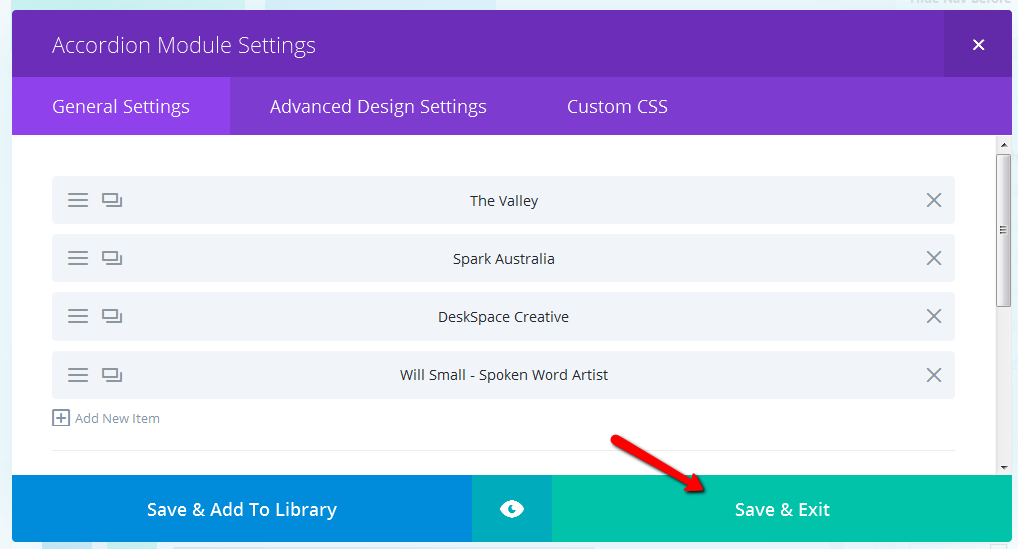
When finished, click on “Save”.
NOTE:
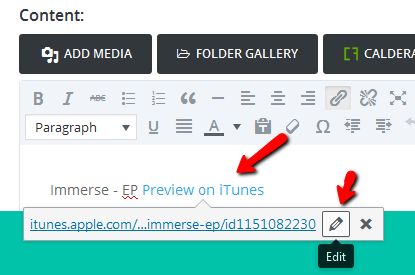
To change the link, click within the linked content. The link destination will now display with some options. You can edit the link destination right there by clicking on the “Edit” button. Type/copy the link destination into the field and then click on the blue arrow “Apply” button. If you want to edit more of the link settings, you can instead click on the cog “Link Options” button.
STEP 6:
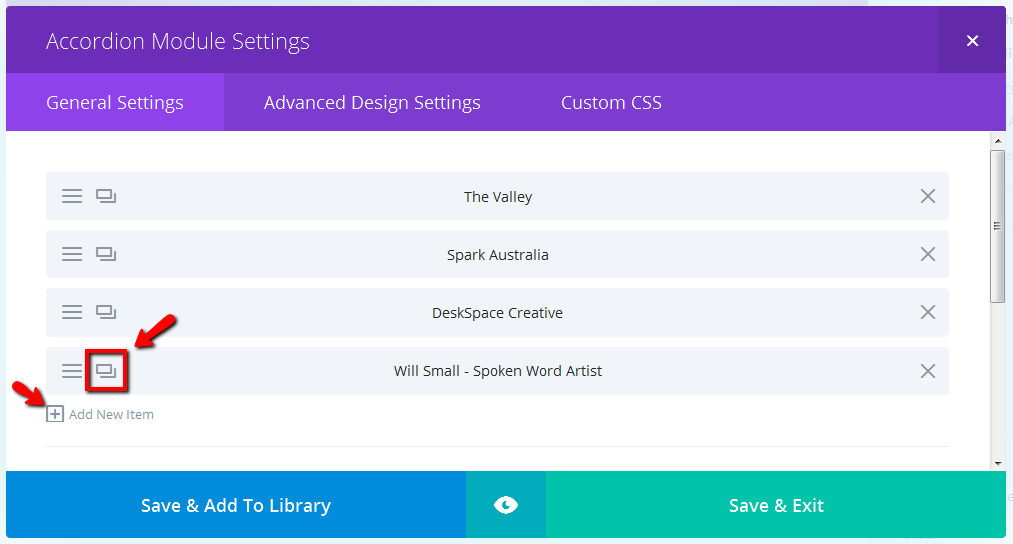
You can also add a new item to the accordion.
Either click on the duplicate icon and then edit the new duplicated item, or click on “Add New Item”.
The benefit of duplicating an item is that any custom formatting from that item is copied, so all you need to do is edit the content of the new duplicate.
STEP 8:
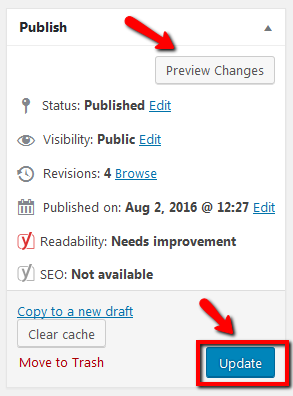
Finally, as with all WordPress content changes, click on “Update” to publish your changes.
