How to Change your Embedded Audio from Spotify using the Divi Page Builder
For this tutorial, we’ll be using the “Text” module within the Divi Page Builder.
STEP 1:
From your Spotify account, find the audio recording that you wish to embed into your website.
Click on the “More” icon of the 3 dots, to the right of the audio’s title.
The options will display. Click on “Copy Embed Code”.
The embed code will now be copied to your clipboard.
STEP 2:
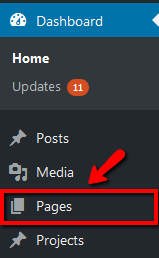
Log in to your WP Admin panel. Click on “Pages” in the menu.
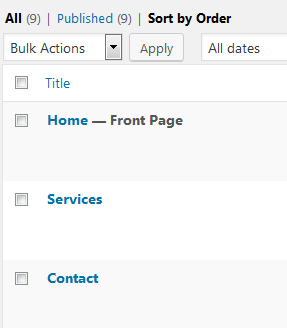
The site’s pages will display in a list.
STEP 3:
Click on the title of the page you wish to edit.
Alternatively, you may notice that when you hover over the page title, a menu appears. Clicking on the “Edit” link will give the same result.

STEP 4:
Scroll to the text module that you wish to edit. Click on the icon with 3 lines at the far left of the module to edit the module settings.
A module can be given a custom label, so that it does not need to only display as “Text” on your page builder. In these instructions, the text module we are editing has already been given the label, “Spotify Embed Code”.

STEP 5:
Scroll down to the content box.
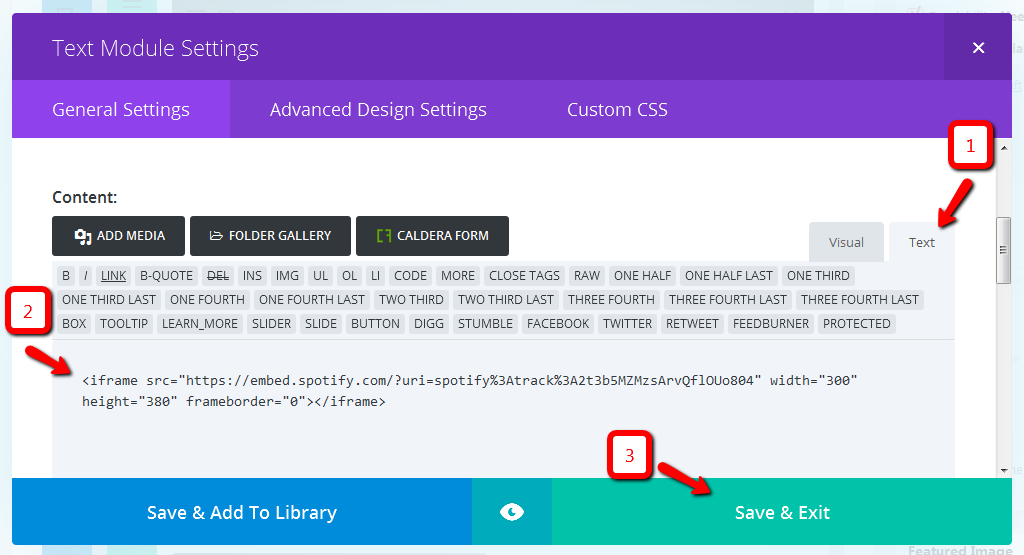
Ensure you are on the text/code editor by clicking on the “Text” tab at the top right of the editor box.
(You can revert your modules back to the Visual Editor as the default view at any time by clicking on the “Visual” tab.)
Replace the iframe content with the new embed code that you just copied from Spotify.
Click “Save & Exit”.
STEP 7:
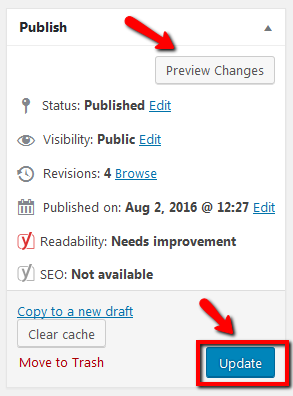
Finally, as with all WordPress content changes, click on “Update” to publish your changes.
