
Setting Up Mailgun for WordPress so your contact forms get through every time
Sending wordpress emails through Mailgun
Email is still a critical mode of communication for businesses to their customer base, and that’s not likely to change any time soon. However, the business of ensuring delivery of your email to those customers can be tricky indeed.
That’s why we generally recommend leaving the business of maintaining email servers and delivering mail to specialists in the field. There are many great transactional email providers out there. One that we use and recommend is Mailgun. We like Mailgun because they are easy to set up, have a free WordPress plugin, and have a free tier which allows up to 10,000 emails per month to be sent. This makes it easy for businesses to get started without worrying about additional overheads until their cost is justified.
STEP 1: Configure your domain on Mailgun
- If you don’t have a Mailgun account you’ll need to set one up for free at http://mailgun.com/signup. If you have one already you should log in.

- Click Domains > Add Domain.


- Enter your domain and click the ‘Add Domain’ button.
- NOTE: As per Mailgun’s recommendation, you should use a subdomain of your root domain. For example, if your domain name is mydomain.com you should use mg.mydomain.com. Don’t worry if you haven’t set up this subdomain yet, we’ll do that in step two. (Avoid mail.mydomain.com as cpanel reserves this subdomain for it’s own internal email routing.)
")
- You should now be taken to a screen with some DNS credentials and instructions on what to do with them. Keep this page open for the next step, as we’ll need these credentials.
")
STEP 2: Create the subdomain
- Log in to the CPanel account for the domain which you are sending email through.
- In the ‘Domains’ box, click ‘Subdomains’.

- Type ‘mg’ (Or the subdomain you have chosen, if you’ve chosen something other than “mg”) into the subdomain field and click ‘Create’.


STEP 3: Add the DNS Records
- In CPanel, return to the home menu
- Select ‘Zone Editor’ in the ‘Domains’ box

- You will need to create two TXT records, one for each of the TXT record rows shown on the Mailgun credentials page:
- To do this, locate your domain in the list of domains and click ‘Manage’

- Click ‘Add New Record’ and select ‘Add TXT Record’ from the dropdown.

- Copy the Hostname key from Mailgun and paste it into the Name (valid zone name) field in Cpanel. (NOTE: CPanel may automatically append a full stop after the Name field. This is expected behaviour as DNS zone keys technically should have a full stop at the end. Ignore this.)

- Copy the text under ‘Enter this Value’ in Mailgun and paste it into the ‘Record’ field in Cpanel.

- The TTL value will be set to a sensible default of 1000, this can be left as is.
- Click ‘Add Record’.
- Repeat the process for the second TXT record value.
- You will need to create one CNAME record:
- From the dropdown, select ‘Add CNAME Record’.

- Copy the ‘Hostname’ field from Mailgun to the ‘Name’ field in CPanel.
- Copy the ‘Enter This Value’ field from Mailgun to the Record field in CPanel.
- The TTL Field can be left at the default 1000.
- Click ‘Add Record’.
- You will need to create two MX records, one for each of the MX record rows shown on the Mailgun credentials page:
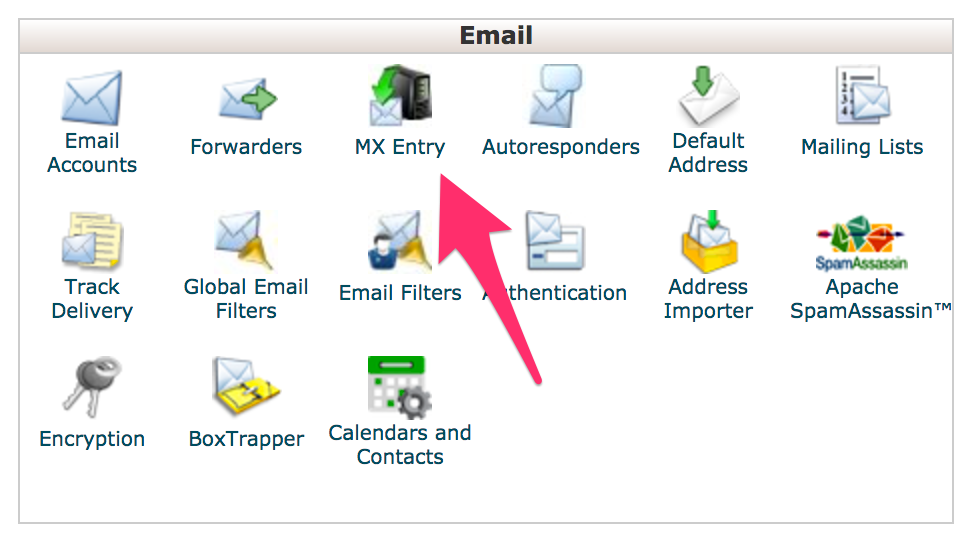
- Return to CPanel home and click ‘MX Entry’ in the ‘Email’ box.
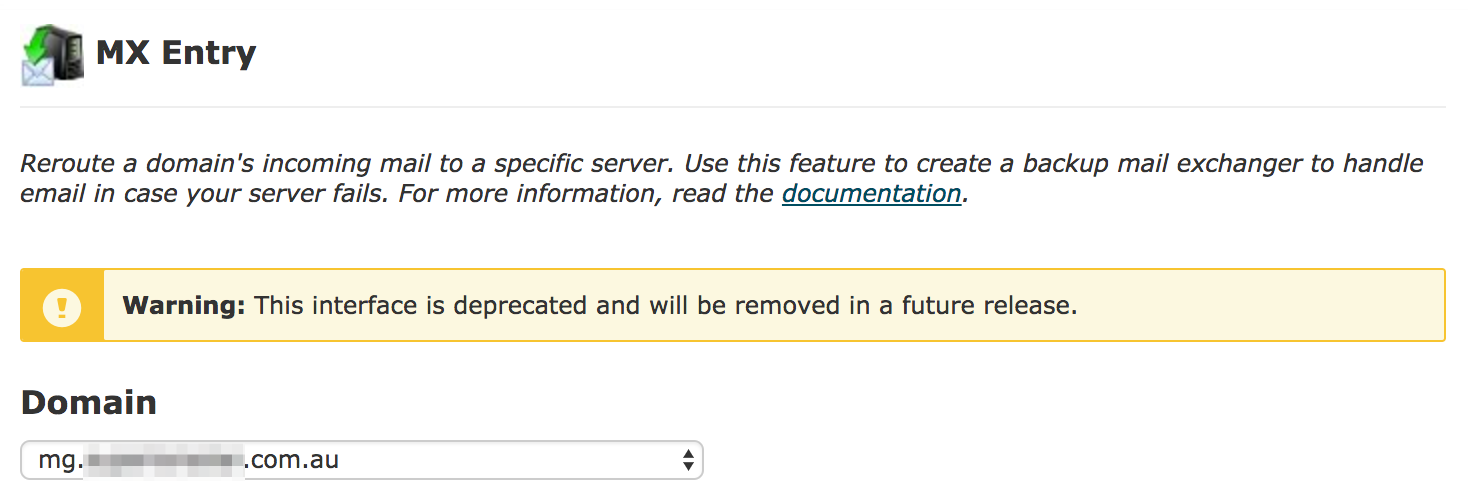
- Select the subdomain from Step 2 from the dropdown.
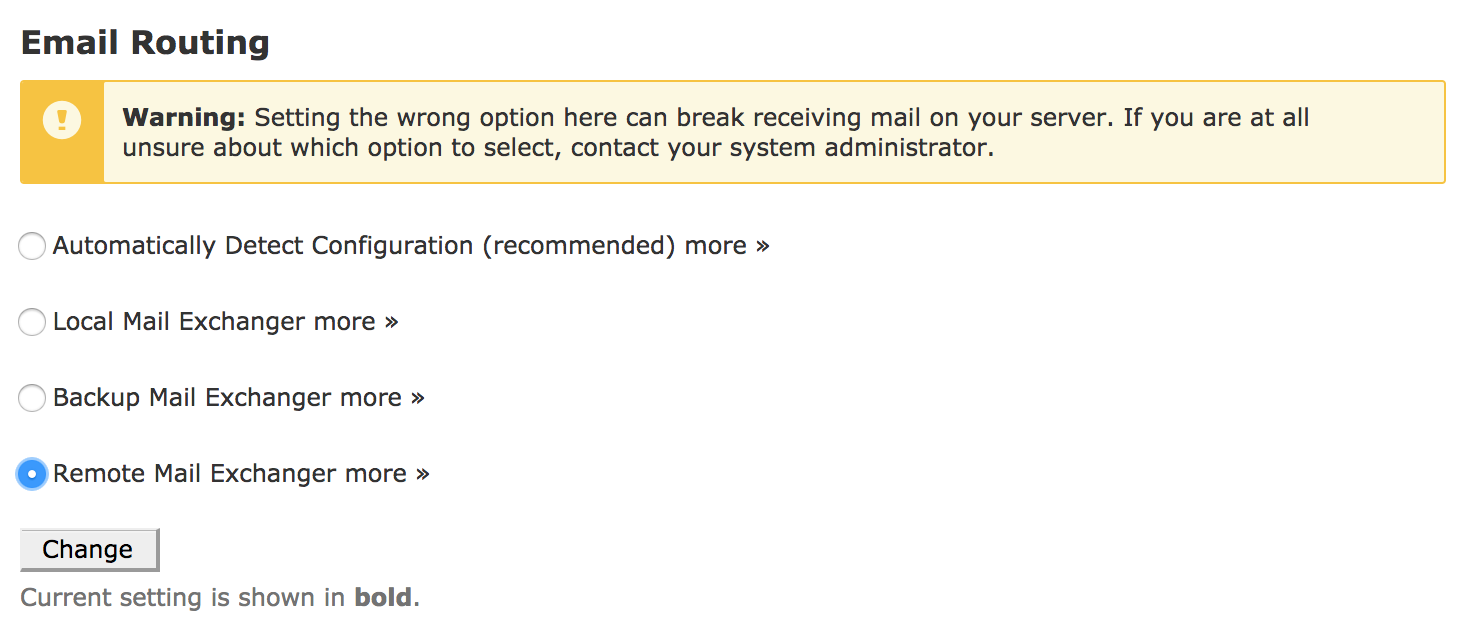
- Select the ‘Remote Email Exchanger’ from the radio buttons.
- Copy the ‘Priority’ field in Mailgun to the ‘Priority’ field in CPanel.
- Copy the ‘Enter This Value’ field in Mailgun to the ‘Destination’ field in CPanel.
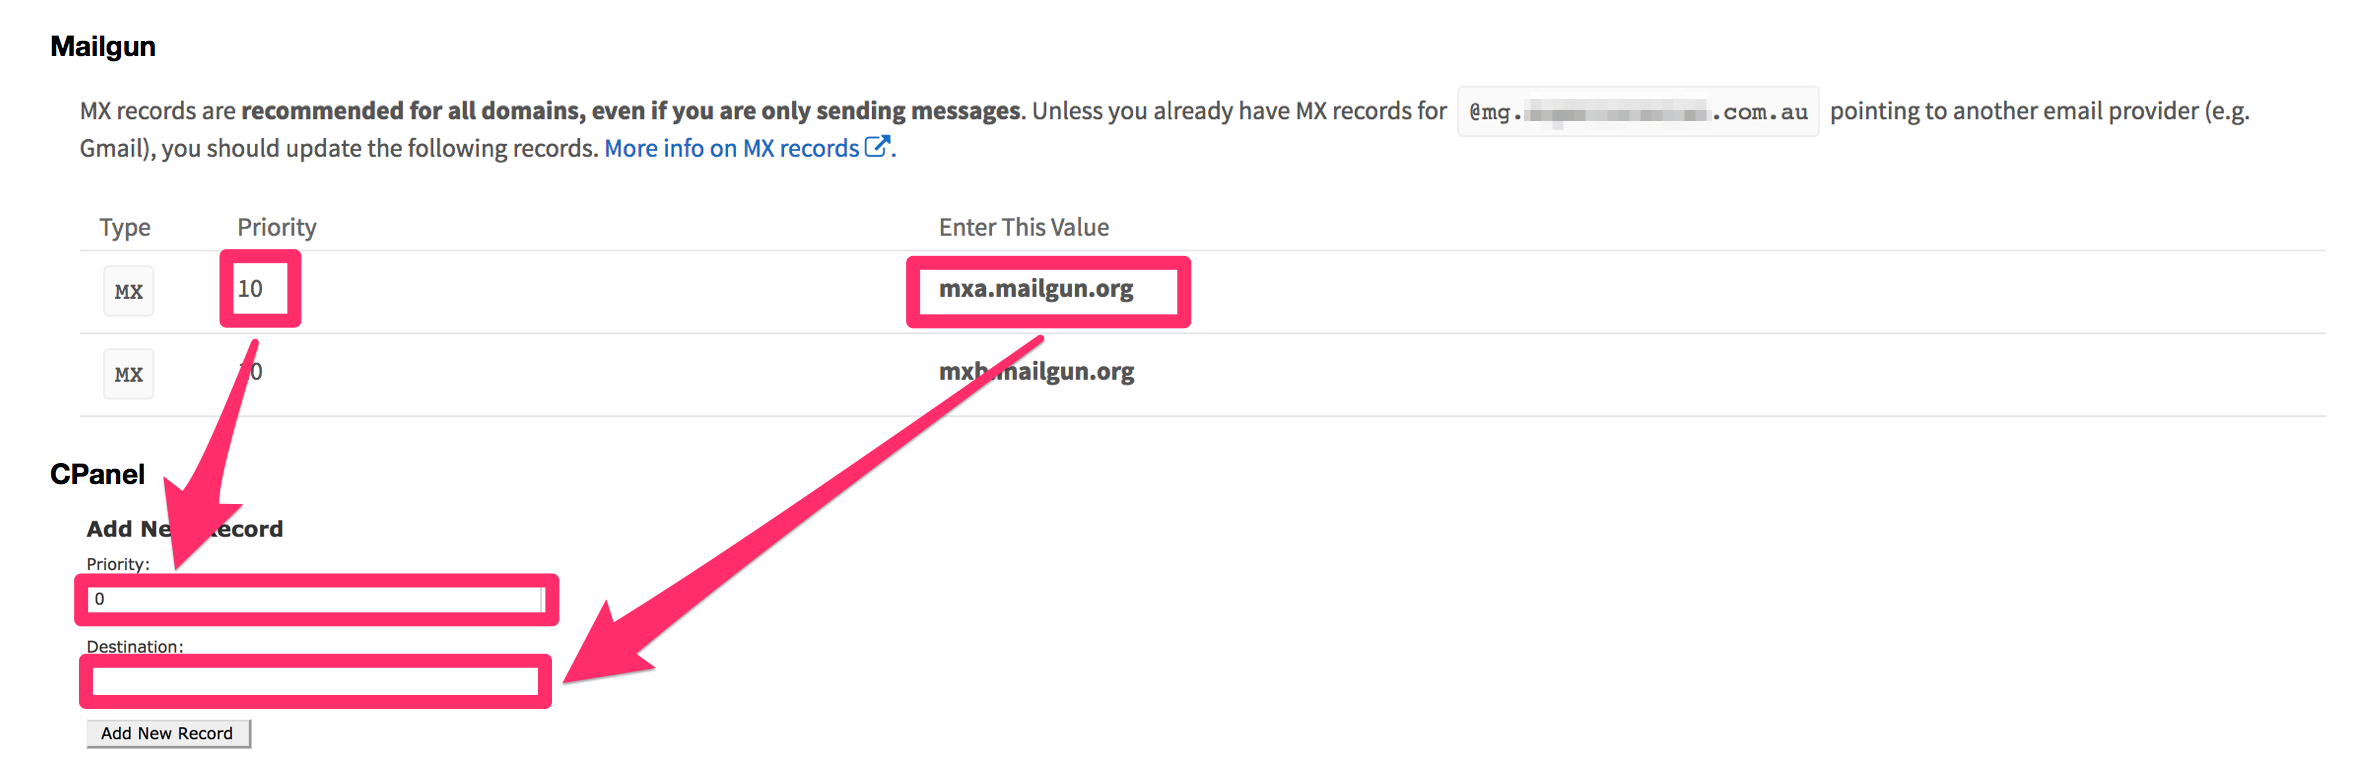
- Click ‘Add Record’.
- Repeat for the second MX Record row.
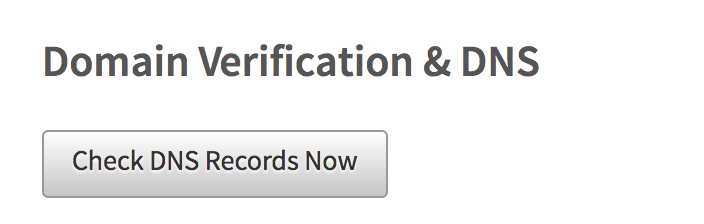
- Once the DNS records are added, click the ‘Check DNS Records Now’ button on the Mailgun credentials page.
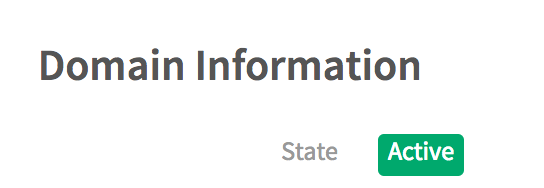
- If the records have been entered correctly you should see green ticks next to each record and the domain should show as ‘Active’. NOTE: DNS records can take up to 24 hours to propagate, though they are usually ready almost immediately. If no records show up after checking, wait several hours and try again.
Step 4: Install and configure the WordPress Plugin
- Log in to your WordPress installation.
- Click Plugins > Add New.
- Search for ‘Mailgun’.
- Install “Mailgun for WordPress” by Mailgun.
- Activate the plugin.
- Click ‘configure Mailgun’ in the success alert.

- Enter the subdomain into the Mailgun Domain Name field in WordPress.
- Enter the API key from the Mailgun credentials page into the API key field in WordPress.
- Enter the default from email address and name for your site.
- Click ‘Save Changes’.
- Click ‘Test Configuration’.
- You will receive a browser alert stating the result of your attempt.