
STEP 1:
Log in to your WP Admin panel.
yourdomain.com.au/admin
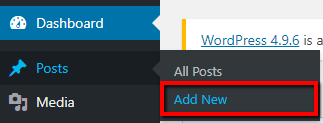
STEP 2:
Navigate to “Posts>Add New” in the menu.
STEP 3:
Give your blog post a title.
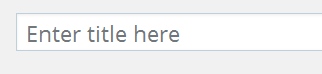
Your post’s ‘slug’ (the directory ending in the URL) will auto-populate based on the title. Check to make sure it reads nicely and is not too long. Edit if required.
![]()
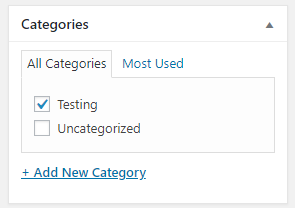
STEP 4:
In the “Categories” box, select the relevant categories for your post; add new categories if necessary.
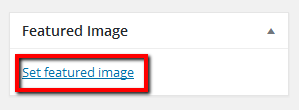
STEP 5:
In the “Featured Image” box, click on the “Set featured image” link.
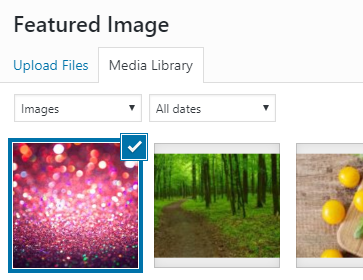
A new window will pop up with your media library.
Drag and drop your featured image into the collection to upload.
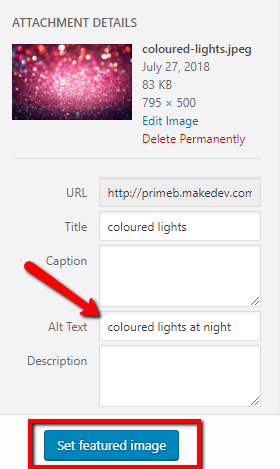
Note: For most blog post layouts with a sidebar, 795 x 500px will be the ideal size for a featured image. But for an image that has to fill the full width of the screen, 1920px wide is ideal.
With your new image selected (bordered and ticked as above), write an image description for the “Alt Text” and click on “Set Featured Image”.
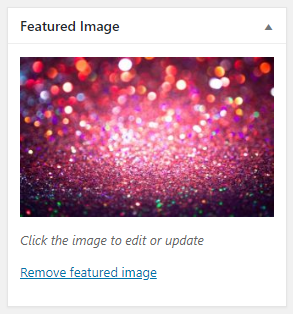
Your featured image for the post is now set.
STEP 6:
Write your blog post content in the text editor box.
Note: Do not copy and paste straight from a word processor into the “Visual” tab. Doing so will not only copy across your content, but also the styling (such as fonts and text size) which most likely will not match your sitewide design. Instead, click on the “Text” tab (top right corner of content editor) and paste your content in there. Then switch back to the “Visual” tab and format your content (e.g. using ‘bold’ button or selecting certain content to be a heading, etc.).

If you wish to add more images in the post content, use the “Add Media” button. Like you did for the featured image, you can drag and drop images from your computer to the media library to upload. Ensure the correct image is selected and click “Insert into post”. For most blog post layouts with a sidebar, images work best if they are 795px wide. (That is, wide enough to fill the area, but as small as possible to have the least effect on load time.)
At any point you can check how the post will look by clicking on the “Preview” button in the “Publish” box. This opens a new tab with a preview of the post.
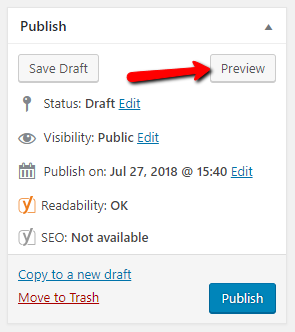
Note: It is also good to click “Save Draft” periodically when drafting your post, so you don’t lose your work in the event of losing internet connection or power etc.
STEP 7:
Once you are happy with the post and have completed all of the above steps, click on “Publish”.
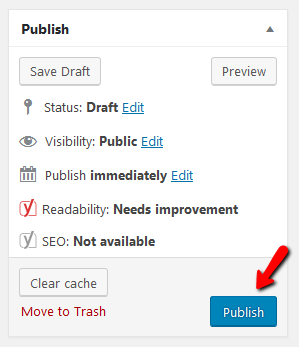
This will publish the post immediately. The post page will be live, and a preview tile will appear on the page/s for which category/ies you selected, as well as the homepage.
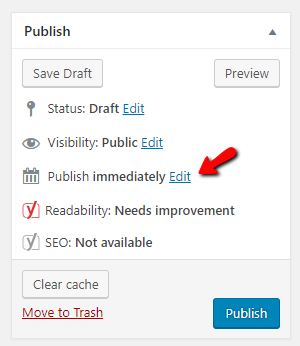
Note: If you wish to schedule the post to be published at a time in the future, click on the “Edit” button next to “Publish immediately”.
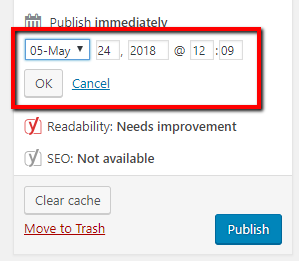
Set your publish date and time and click “OK”. Then click “Publish”.
EXTRA NOTES:
Since blog posts often have the added purpose of making your website more visible in search engines, it is advisable to write your content with this in mind (that is, with high-quality, helpful/useful or interesting, keyword-rich content).
You can also customise your “meta title” and “meta description”. This is recommended, as it allows you to control how your post will appear in search engine results. You can make sure your title and description accurately reflects and ‘sells’ your post content. And you can make sure it is keyword-rich, to help your chances of being found for your ideal keywords.
> Instructions for customising your meta title and description